

Keep in mind that this is simply my observation of a lot of human bodies over the past 30 years of sculpting. I am not an expert nor am I a "professor" of anatomy. This is simply what works for me.
This is the proprtion for a young woman. Proportions will vary from person to person and from age to age.
For small figure sculpting, I like a model of about 7.5 to 8 "heads" high. Head height works well as a scale because most of use like to sculpt the head before we make the body so it is easy enough to use the finished head as the measurement.
The bottom of the torso in the front of the body is about 4 heads high or half of the total length of the figure.
The Torso itself - minus the actual head, is divided into three "head" lengths with the nipples located at the upper head line (2 heads down from the top of the figure). The navel is located near the second head length (3 heads from the top of the figure) as is the hip bone which is actually the top of the pelvis not the hip joint. the Hip joint itself is located about 3.5 heads from the top of the figure. This is important because all leg movement will happen at this point. Not at the hip bone or the bottom of the backside.

Once you have the placement of the hip joint, the leg is two roughly equal sections from the hip joint to the knee and from the knee to the ankle. (SEE "A" on the diagram)
The ankle is less than a quarter of a head height from the bottom of the foot.
While we are down here, lets note that the backside actually sits lower on the torso than the crotch in front. The plane of the bottom of the pelvis runs front to back in an arc. The labia and anus are located on this plane. The muscle and fat of the backside then swell below that plane so the anus is covered and protected. This swelling makes the curve of the backside lower than the crotch on the front of the torso.
 The arm is also two roughly equal length parts. The shoulder is located about 1.25 heads down from the top pf the figure. This is the outer terminus of the collarbone. The wrist is located at the crotch line which is 4 heads down from the top of the figure. The length between the shoulder and the crotch is cut in half and that locates the elbow for us. (Easy way: elbow hits the waist of the figure) See "B" on the diagram.
Fold it in half from top to bottom so you have an 8.5x5.5" folder paper.


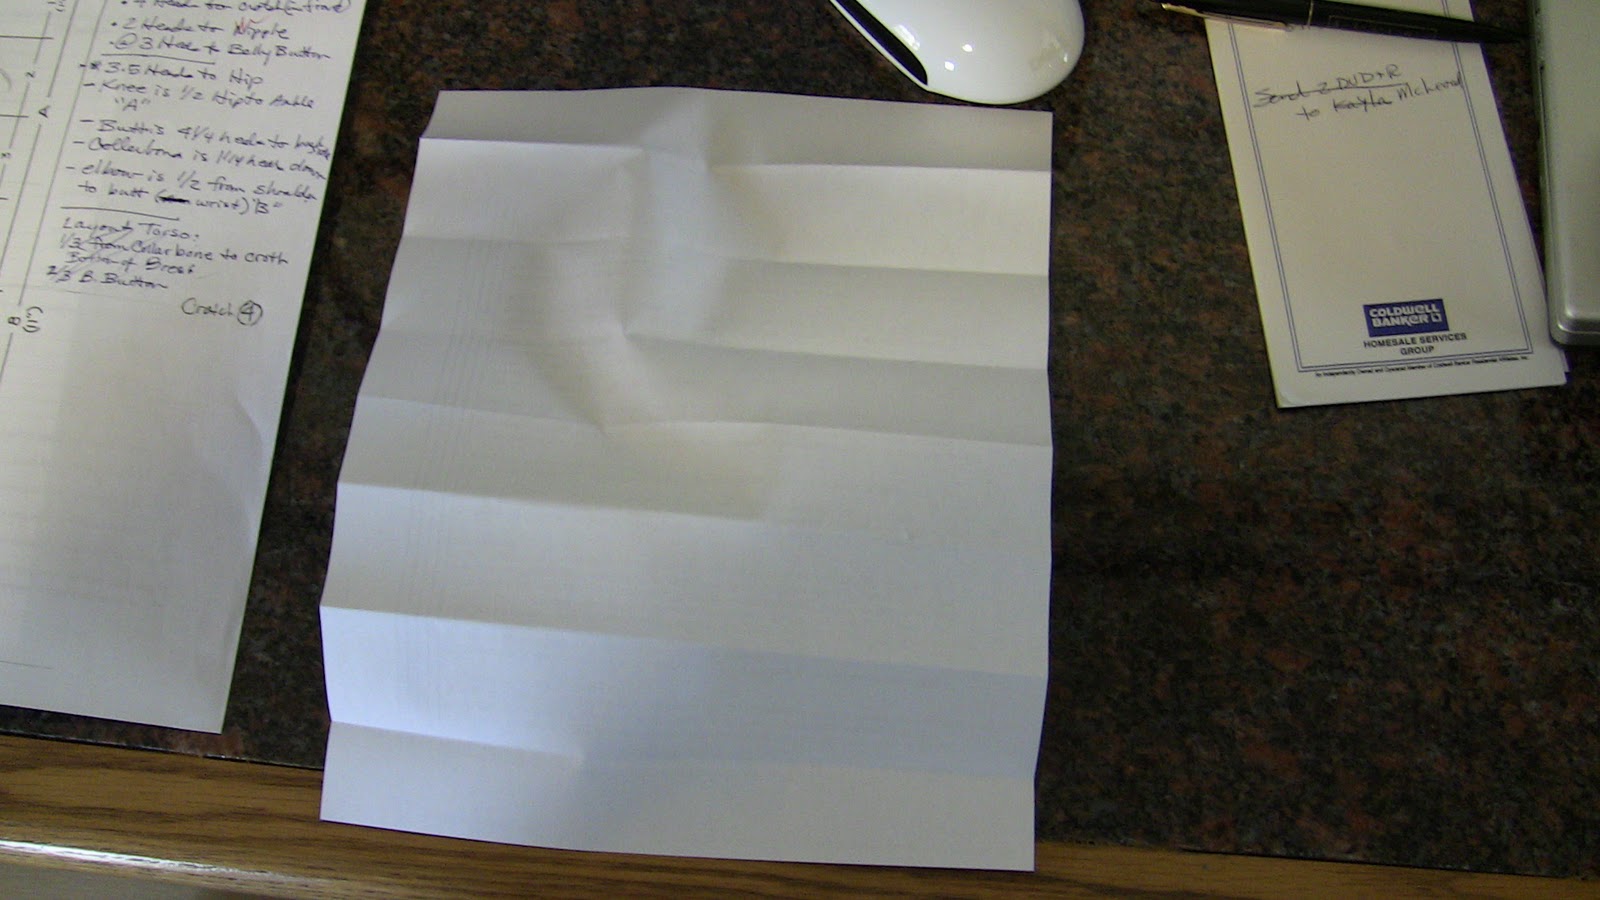

Notice how this coincides with your proportions for the figure.
Now you know instantly what your head height is for a finished figure. It is 1/8th of the final size.
To allow for variations in sculpting techniques, you will want to make the skull slightly smaller so you have room to add clay to get the face to look like you want. Therefore, a skull for this figure would be about 1.25" high.
 Now you can make your armature to scale so it fits into the proportions of whatever size you want for your finished figure.
Hope this helps! Have a great day!
This helps me a great deal. Thank you!!
ReplyDeleteYep, it works! I usually sculpt by eyeballing it. If I worry about scale, it complicates it for me. By the way, your armature is great on its own. thanks so much,
ReplyDeleteLisa
I know of a sculptor who was really good but he was not growing in his work and finally he started measuring instead of eyeballing and i could not believe how his work jumped levels of mastery. It was really a eye opener and he admitted for years he was just lazy but had read an article and decided to try it and it greatly improved his work.
ReplyDeleteThanks for sharing. This is priceless info.
~JL
I meant to add also as you keep demonstrating, the key is in the details.
ReplyDeleteThanks again,
~JL
Interesting indeed! Thank you master! Do not be offended if I call you so true. :)
ReplyDeletethank you for this wonderful tutorial! I'm loving them!!!
ReplyDeleteThis will surely change my sculpting. I am struglling with proportions and your advice makes it really clear and simple. Thank you!
ReplyDeleteWow
ReplyDeleteMaravilhoso tutorial,obrigada.
ReplyDeleteWill this work for sculpting a baby or toddler.?
ReplyDelete